 TurtleBeads
Studio
TurtleBeads
Studio
~
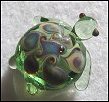
A glass turtle for everyone! Flameworked artglass
beads and custom jewellery by Ania Kyte. ![]()
~ Tutorial:
~ Creation of a basic lampwork bead ~
~ If you are curious to see how I melt glass rods to create a bead while working at the torch, please take a look at the step-by-step photos of the demo below. Each photo has detailed descriptions of the bead-making process...
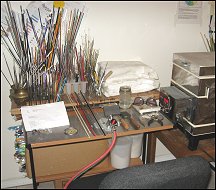
Tools and Materials:
Torch, Glass rods, Frit (crushed glass), Steel Mandrel, Bead Release, Didymium/Safety Glasses, Kiln or Ceramic fibre blanket.
(Please note that there are many photos on this page and it might take a while to load them all, so please be patient...)
- Dip your mandrels in bead-release
- Prepare your workspace
- Arrange your tools
- Clean your glass rods
- Turn on the kiln
- Put on your safety glasses
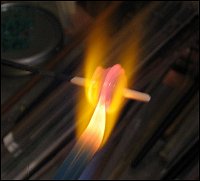
- Warm up the mandrel
- Warm up the glass rod
- Touch the glass to the mandrel
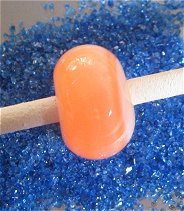
- Wind off enough glass to make a bead
- Continue turning the bead in the flame
- Let the bead round out to a nice shape
- Allow the bead to solidify it's shape out of the flame
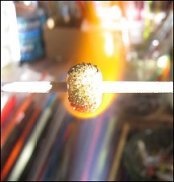
- Heat the surface of the bead
- Roll the hot bead in some frit (crushed glass)
- Repeat as often as you wish until the bead is coated in frit
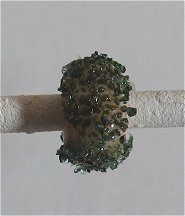
- Take a look to see that the entire bead is covered in frit
- If there are bare spots, heat the bead again
- Dip the bare spots in frit again to cover the bead surface
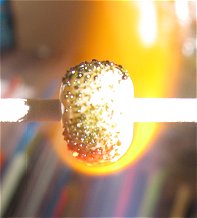
- Heat the entire bead in the flame, taking your time
- Make sure the frit becomes incorporated into the bead surface
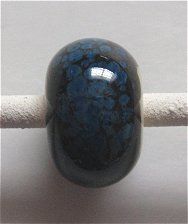
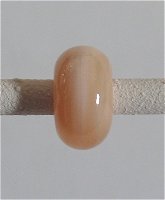
- Take a look at your round bead
- Admire the new frit coating the surface
- NOTE: you can stop here if you wish and place the bead in the ceramic fibre blanket for cooling, or in the kiln for annealing.
- Or you can continue...
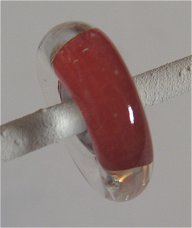
- Heat up a clear glass rod
- Encase the entire bead in clear
- Make sure the entire surface of the bead is covered in clear
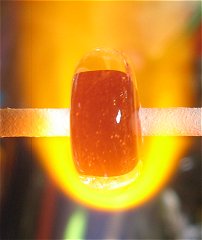
- Heat the entire bead evenly in the flame
- Watch the clear encasing layer round out over the core bead
- Allow your bead to round out
- Continue turning the bead while removing it from the flame
Step 10:
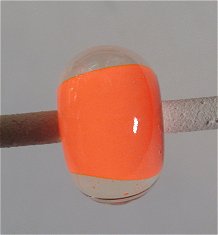
- Admire your round, encased bead (but not for longer than a few seconds)
- Place the bead in the ceramic fibre blanket for cooling (and annealing later), or directly in the kiln for immediate annealing.
---------------------------------------
~ The above technique can be applied in various ways, and the bead can be shaped anyway you like using various tools to get different results:
- Tutorial created entirely by Ania Kyte. Photos and text by Ania Kyte.
- For personal use only. Please ask permission before printing/distributing.